Grey Knights Razorback
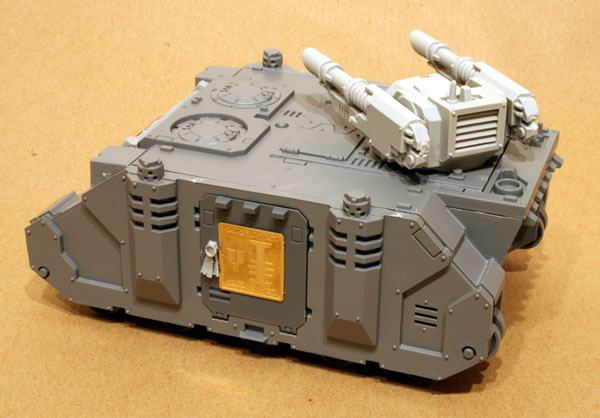
I constructed the Rhino, I wasn't going to detail or paint the inside, so I left that as was. I also left off the frontal plate and the doors.
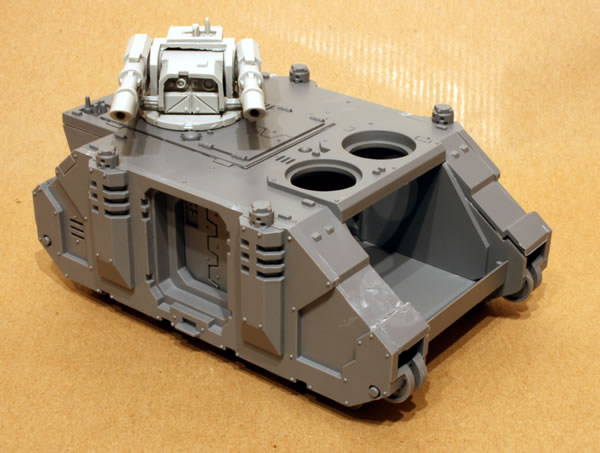
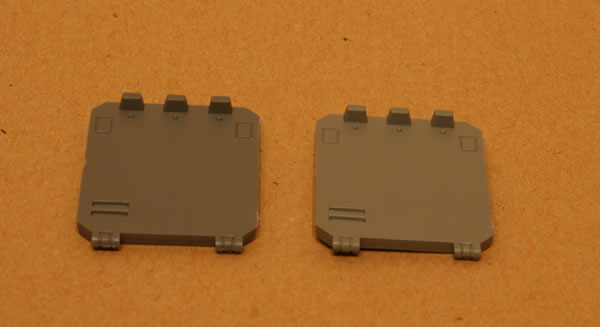
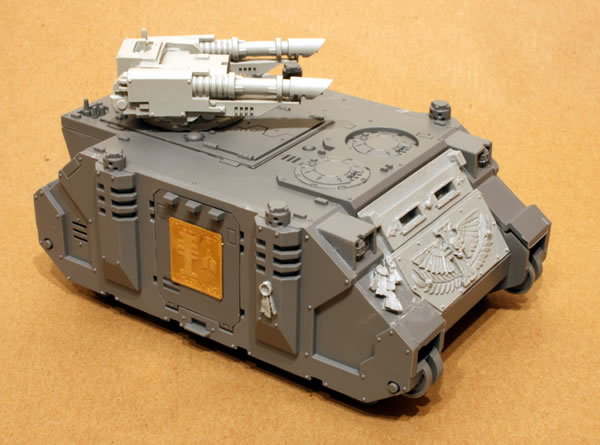
The basic Rhino kit comes with two different doors, one relatively blank and the other with steps (or ladder) on. I decided to use a spare blank door from my Repressor to use two blank doors.
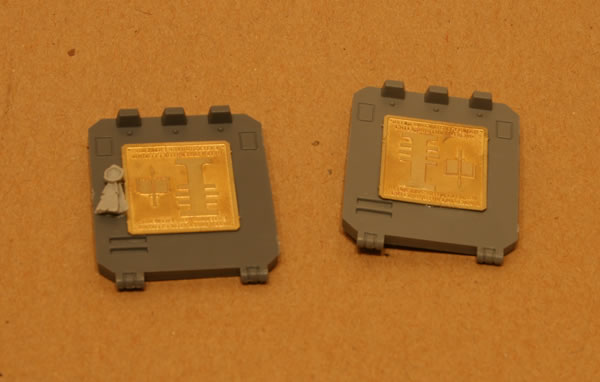
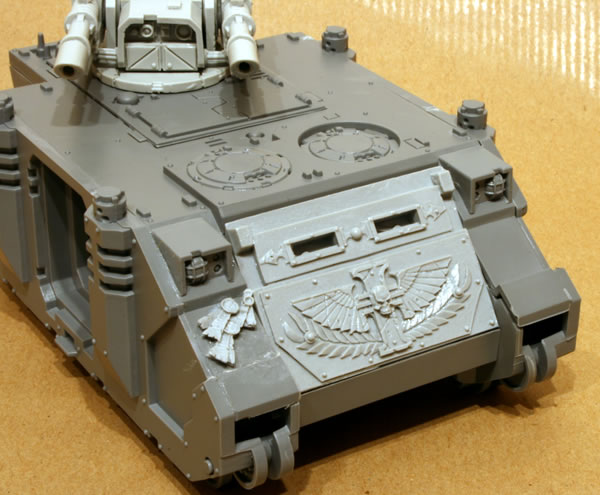
I added a brass Grey Knights symbol from the Forgeworld Grey Knights brass etching and a resin purity seal. When I was editing the pictures for this article, I noticed that I had inadvertently glued one of the symbols upside down! I therefore had to remove it from the door, turn it round and stick it down. It did not come off too easily, but I am glad I spotted it now rather than when I was painting (or worse when I had finished) the model.
I added a resin frontal armour plate from the Forge World Inquisitor Rhino Doors (having used the other side doors on my Repressor.
I added a few more purity seals.
You can see on this shot the upside down brass symbol.