Jimbo's Workbench

Homepage - News and Views - Wargaming Rules - Show & GamesDay Reports - Miniatures Gallery - Jimbo's Workbench - Ork Workbench - Daemonhunters Workbench - Witch Hunters Workbench - Scenery & Terrain Workbench - Photography Techniques - Articles - Books - Editorial - Epic40K - Epic Armageddon - Epic Workbench - Space 1889 - Flintloque - Star Trek Full Thrust - Doctor Who - Warmaster - Warhammer40K - Warhammer 40K Miniatures Gallery - Blog

line


Up to 8Mb broadband from just £9.99 a month. PlusNet broadband.


Gretchin or Grotz (take your pick)

I do like the underdog and this page shows how I painted my Grots for Warhammer 40K. Note that this is a topsy turvey guide in that some of the new pictures are in fact of new unpainted grots.

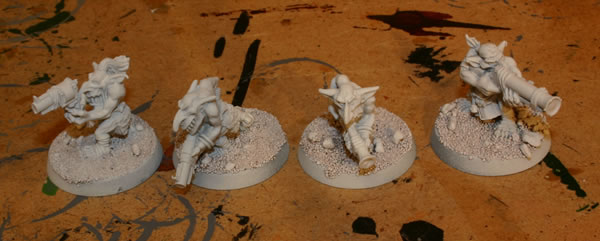
The first thing when basing Grotz is to fill the spacing left on the slottabase, I use some old green stuff I have.

I usually flock my Grotz before undercoating now.

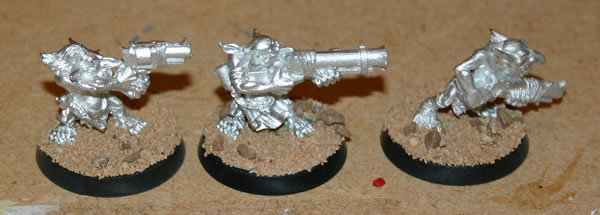
For Orks I use black, for Gretchin and Grots I use a white undercoat as it usually results in a lighter look for the Grots and a darker look for the Orks.

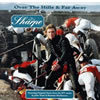
The detailing on these models are excellent and they are full of character.

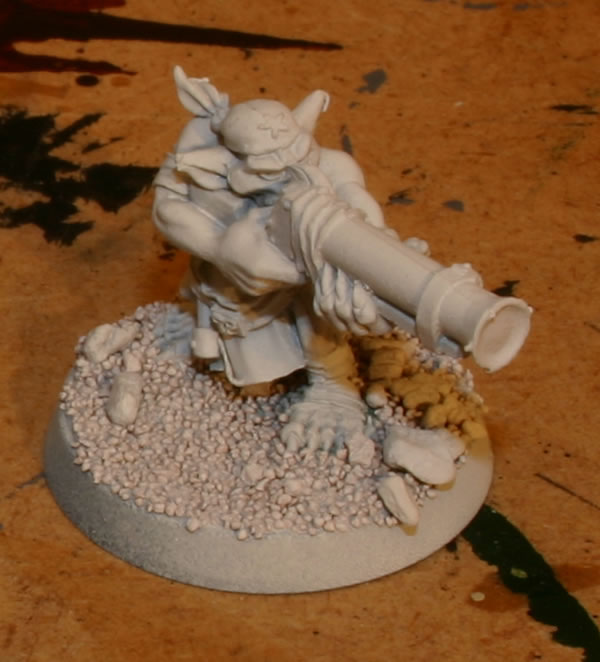
Once the white undercoat is done, the skin tones are painted in Goblin Green.

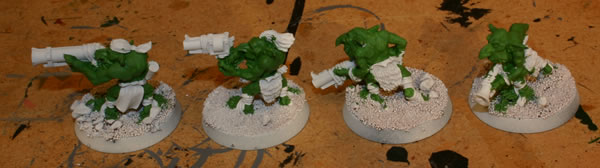
The next stage will be a highlight of Scorpion Green (as with my Gun Krew Grots).

next page

Another Grot Workbench Guide

The original guide to painting Grots.

Ork & Gretchin Miniatures Gallery

For photographs of finished miniatures, please check out our Ork and Gretchin Miniatures Gallery.

Also check out the Warhammer 40K Ork Miniatures Gallery.

This page was last updated on the 26 October, 2007

|

    spacer    
Copyright ©1998-2003 Felix's Gaming Pages All Rights Reserved