Setting the Scene
Some of my photos are taken at shows, though most were taken in our "studio". To call it a studio is a real liberty; generally it is a table with a desklamp. I now just use the dining room table and scenery tiles.
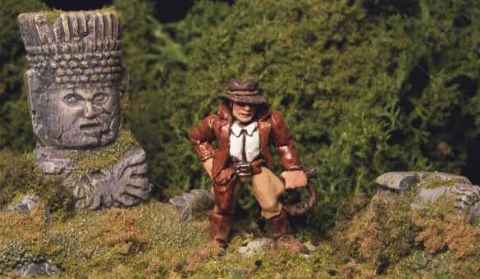
I use a grassmat (from model railway shops), lichen and flock. I use Woodland Scenics flock to "soften" the lichen and make more realistic bushes and to "hide" the figures bases. Buildings are in the main by Steve Barber Models. They produce a wonderful range of 25mm German buildings, and a very nice 15mm Spanish range. We have also used resin castings from the Snapdragon Studio and Grendel - our personal favourite are the aztec-inca statues, the Adventurer with statues is a good example as shown here.
Backgrounds are from Corel Photo CD-Roms or from photographs I have taken (in the real world) printed out on A4 and then taken down the copy shop to be blown up to A3. For close-up shots we simply stick a cardboard box behind the grassmat and/or use lichen.
Some shots are taken with the model on a white or blue background. Personally I prefer the scenic setting, though to show off an excellent paint job then a white or light blue background would be a better choice.

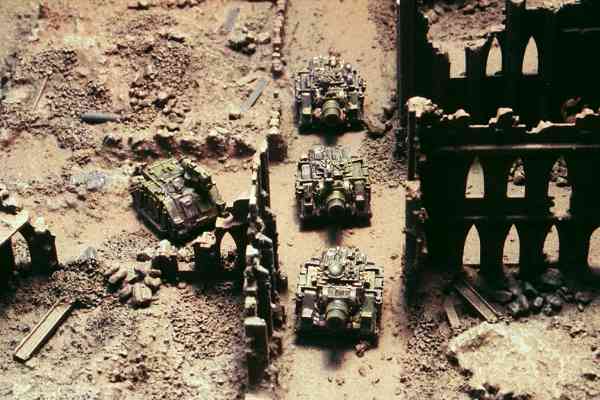
For my Epic photographs I use some ruined city scenery tiles I built for games of Epic40K.
Longer term I would like to get a light box, this would make taking photographs even easier and should result in even better photographs.
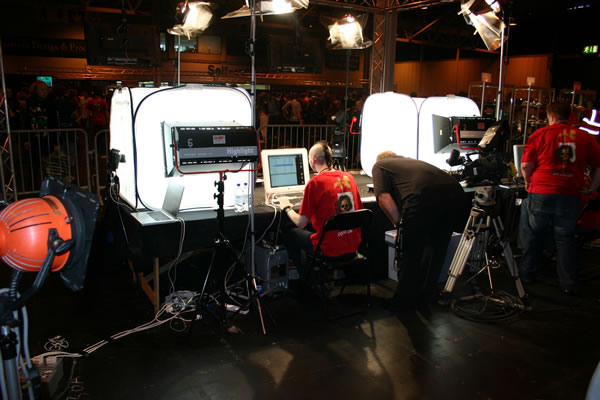
This is the kind of setup Games Workshop have for taking pictures of their models.