

Sharing files between a Windows 98 PC and a Mac running OS 10.3.x
You can use the following procedure to share files between a Windows 98 PC and a Mac (OS 10.3.2) though the process is similar for 10.2.8. Both computers should have their firewalls turned off, or have the relevant ports opened. These ports are 548, 427 and 139.
Stage 1 Ensure all computers are on the same subnet
Ensure that first each of the computers can access your network. Ensure that the IP address of each computer shares the same subnet, ie 10.0.1.x or 192.168.0.x or whatever!
Stage 2 Usernames and Passwords
It really helps with the Windows PC to have a user account with a username and a password and to know the shortname and password associated with the Mac.
How do I find my Mac (OS X) shortname?
Creating a new user account on Windows XP
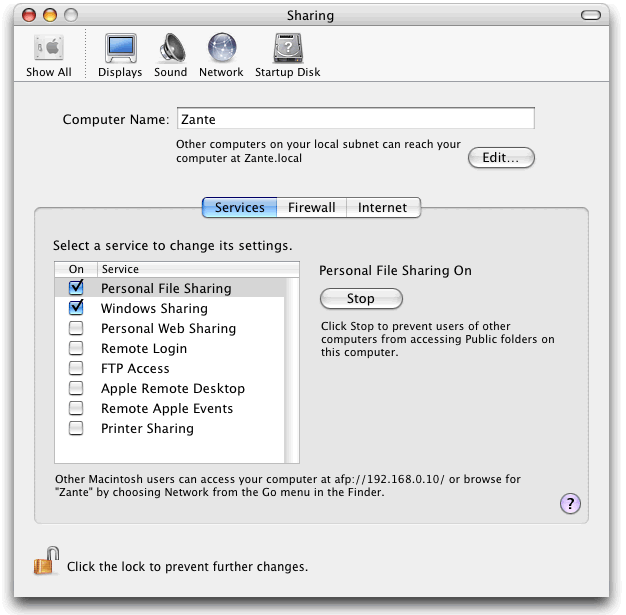
Stage 3 Mac File Sharing
On the Mac
System Preferences -> Sharing
Ensure that Personal File Sharing and Windows File Sharing are checked
Stage 4 PC File Sharing
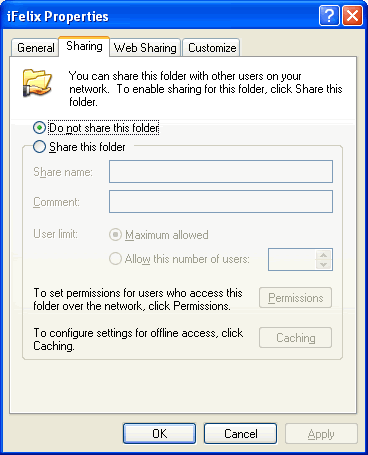
On the PC on the relevant folders you want to share, right click and select Sharing and Security...

You will then bring up a new window, which will be different depending on whether you are using simple file sharing or not.
 |
 |
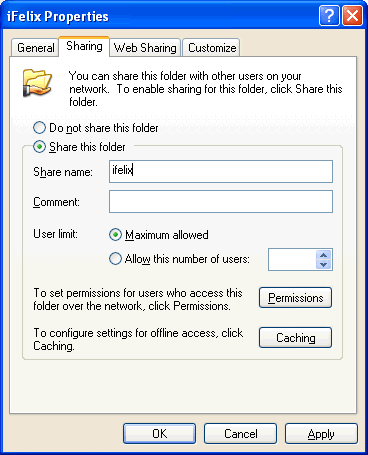
Select Share this folder and give the folder a relevant name (it can make sense to avoid spaces and keep it all in lower case.
 |
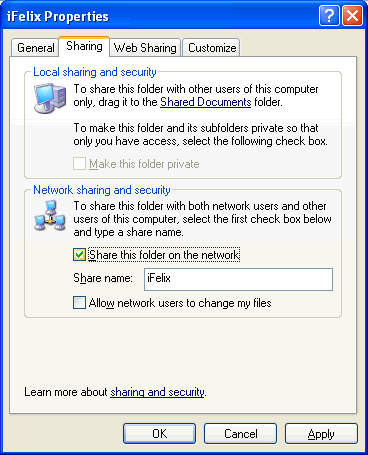 |
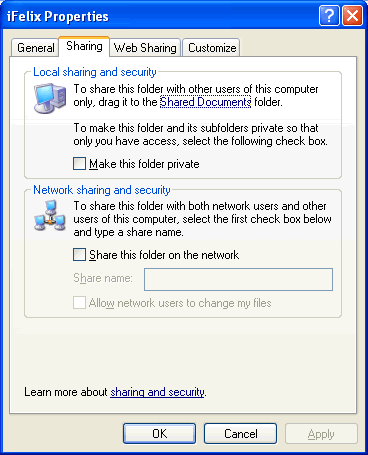
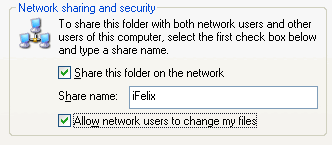
If you are using non-simple file sharing, you can specify who can connect and what they can do, with simple file sharing you can also allow users to change files, by checking Allow network users to change my files.
Stage 5 Mac to PC
On the Mac (running 10.3.2)
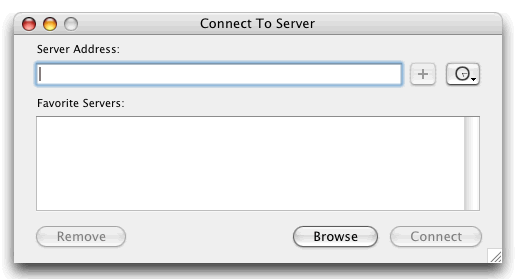
Finder -> Go -> Connect to Server

You will now see the Connect To Serve window.
Type in smb://IP Address of PC
example smb://192.168.0.8
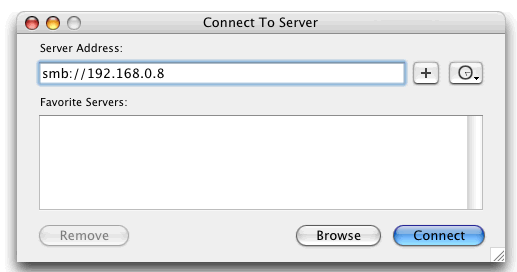
Click Connect
It will then attempt to connect to the PC

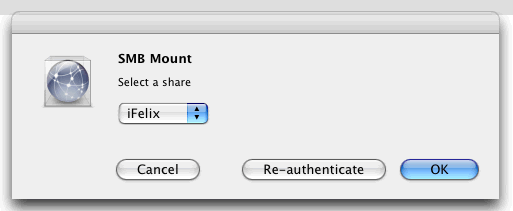
If it is successful you will see the following and will ask you to Select a share (which will be the shared folders on the PC). Select the correct share and click OK.
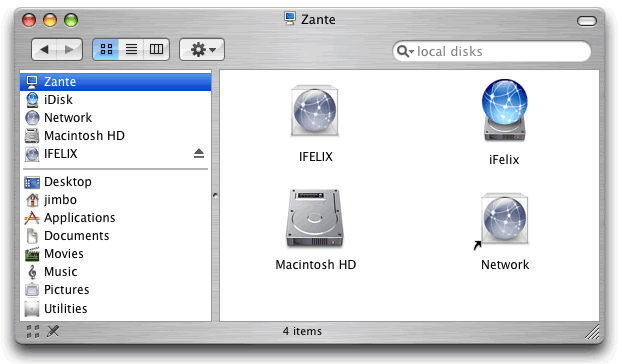
Your shared folder on the PC will then be mounted on the Mac Desktop and will be available in Finder.
Stage 5a Mac to PC - Individual folders
On the Mac (running 10.3.2)
Finder -> Go -> Connect to Server
smb://IP Address of PC/name of shared folder
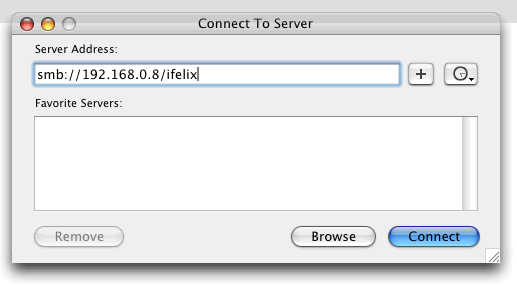
example smb://192.168.0.8/ifelix
Stage 6 PC to Mac
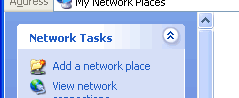
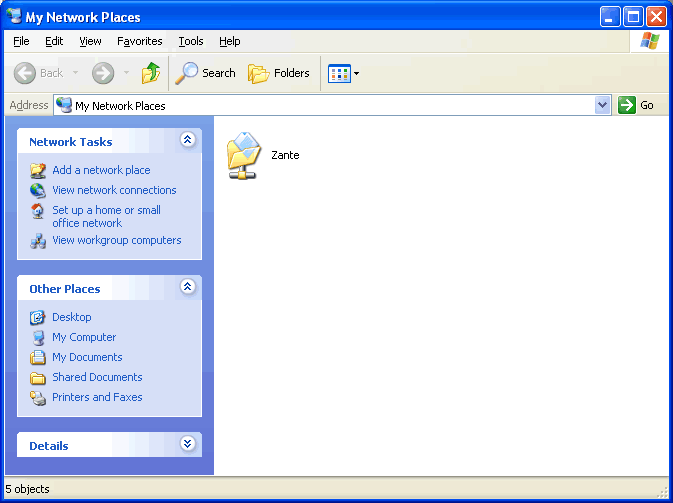
Start -> My Network Places
Yours may already have network places in it.
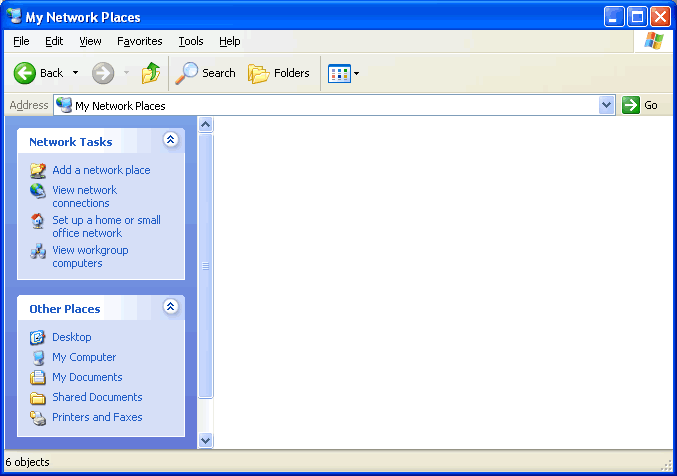
Click Add a network place
You will then start the Add Network Place Wizard
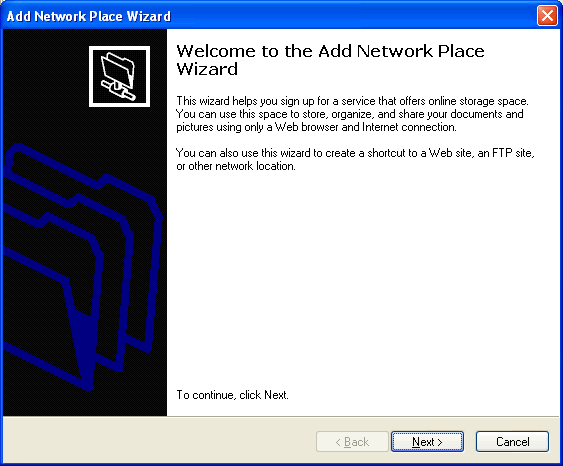
Click Next
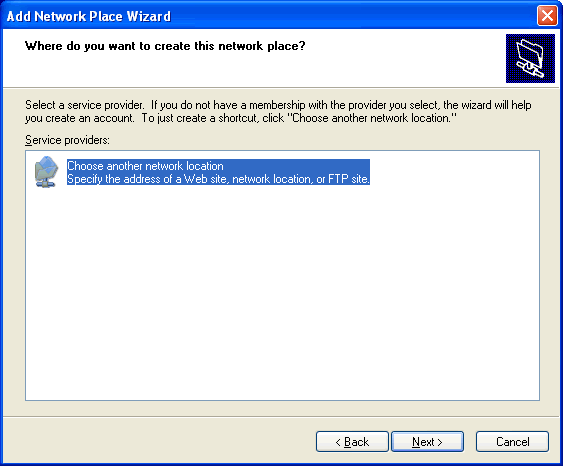
Select Choose another network location (you have more than the choice indicated here) and click Next.
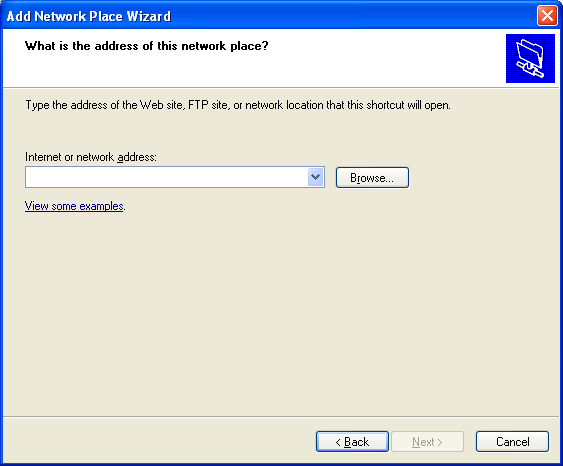
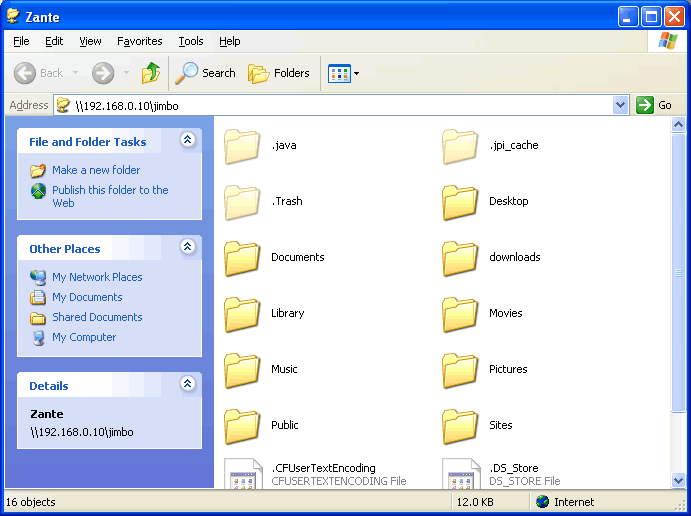
Type in \\IP Address of Mac\Mac Username
example
\\192.168.0.10\jimbo
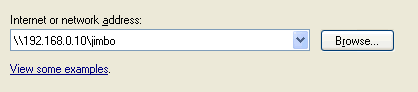
Then click Next.
You will then be asked to Type a name for this network place:
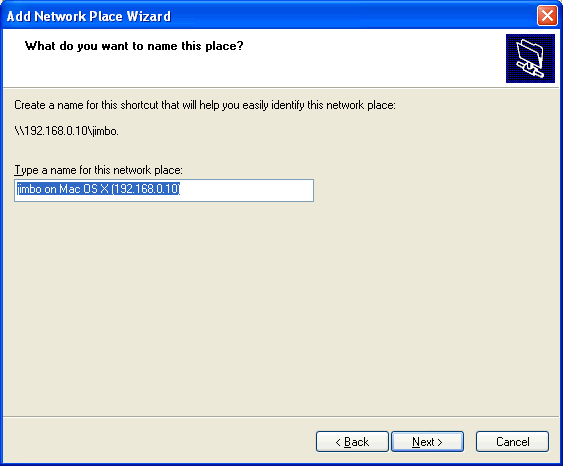
It makes sense to either leave it as is, or type in this case the name of the Mac.
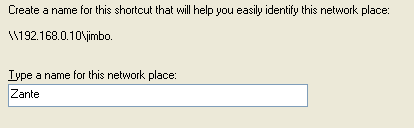
Then click Next.
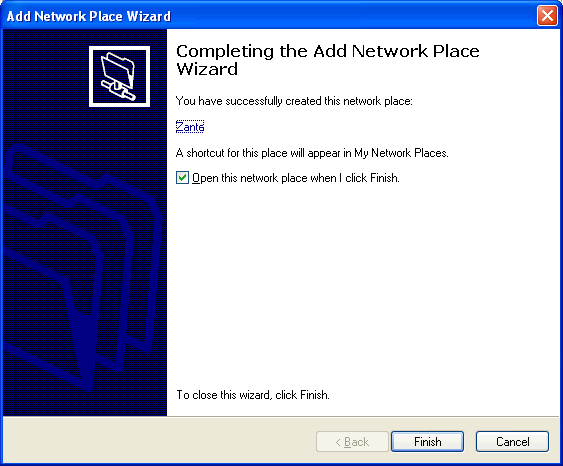
This will then add a folder to your My Network Places folder.
And you will be able to access the files in the folder on the Mac from the PC
From the Mac
System Preferences -> Sharing
Select Windows File Sharing and it will actually tell you what to type in.

Useful Links
Macintosh: Networking With a Windows PC
Mac OS X 10.1 or later: How to Connect to Windows File Sharing (SMB)